Our Workflow of PointCloud Effect for websites
How we capture anything as pointcloud effect for our website projects?
Aug 27, 2023

By following this workflow, you can capture any real-world objects or scenes, convert them into particles, and then render the PointCloud effect on your website using Three.js and our custom shaders. This allows you to create interactive and visually engaging experiences for your website visitors. Please visit our website project ccs.city to see a live demonstration.
Images Capture
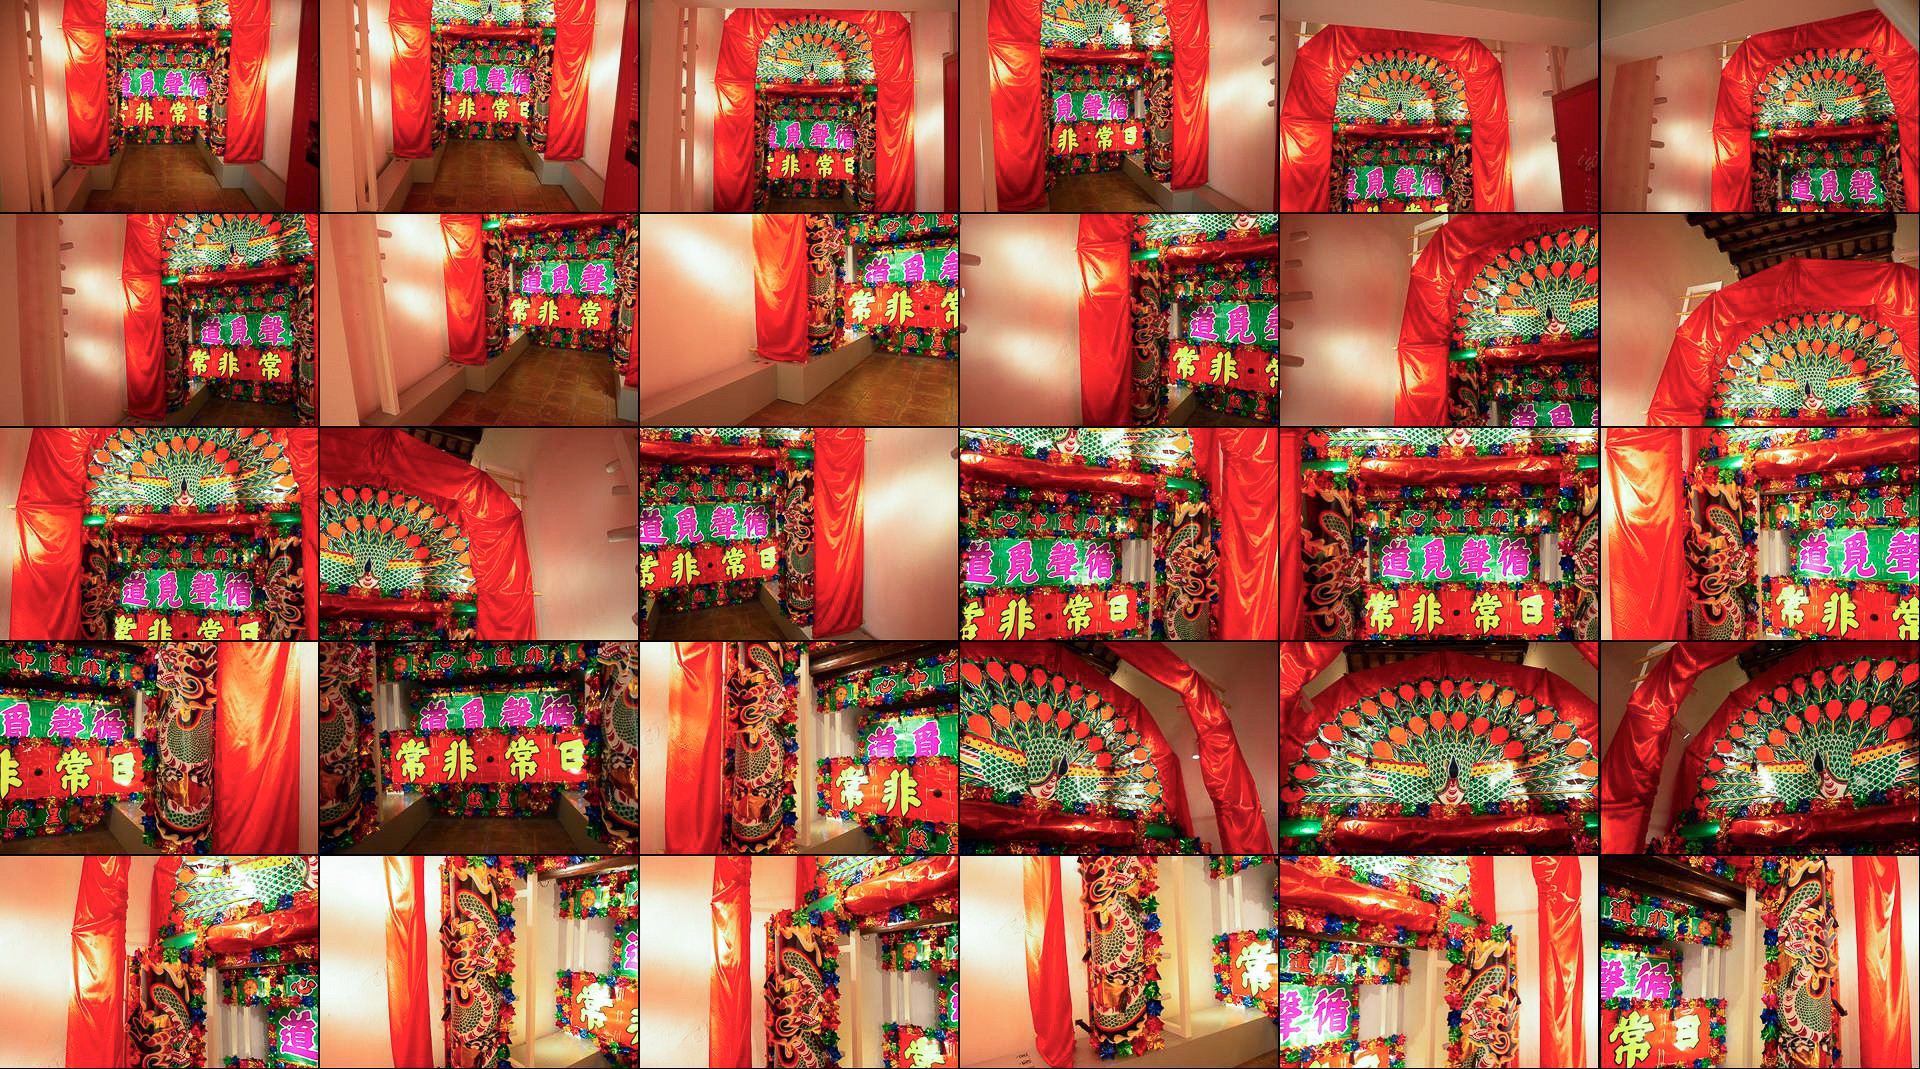
Capture multiple images of the object or scene from different angles. It's important to have sufficient coverage to capture all details.

Photogrammetry to 3D mesh
We use photogrammetry software (Meshroom) to process the captured images and generate a 3D mesh with texture. Photogrammetry algorithms analyze the images to reconstruct the object's geometry and apply the captured textures to the generated mesh.

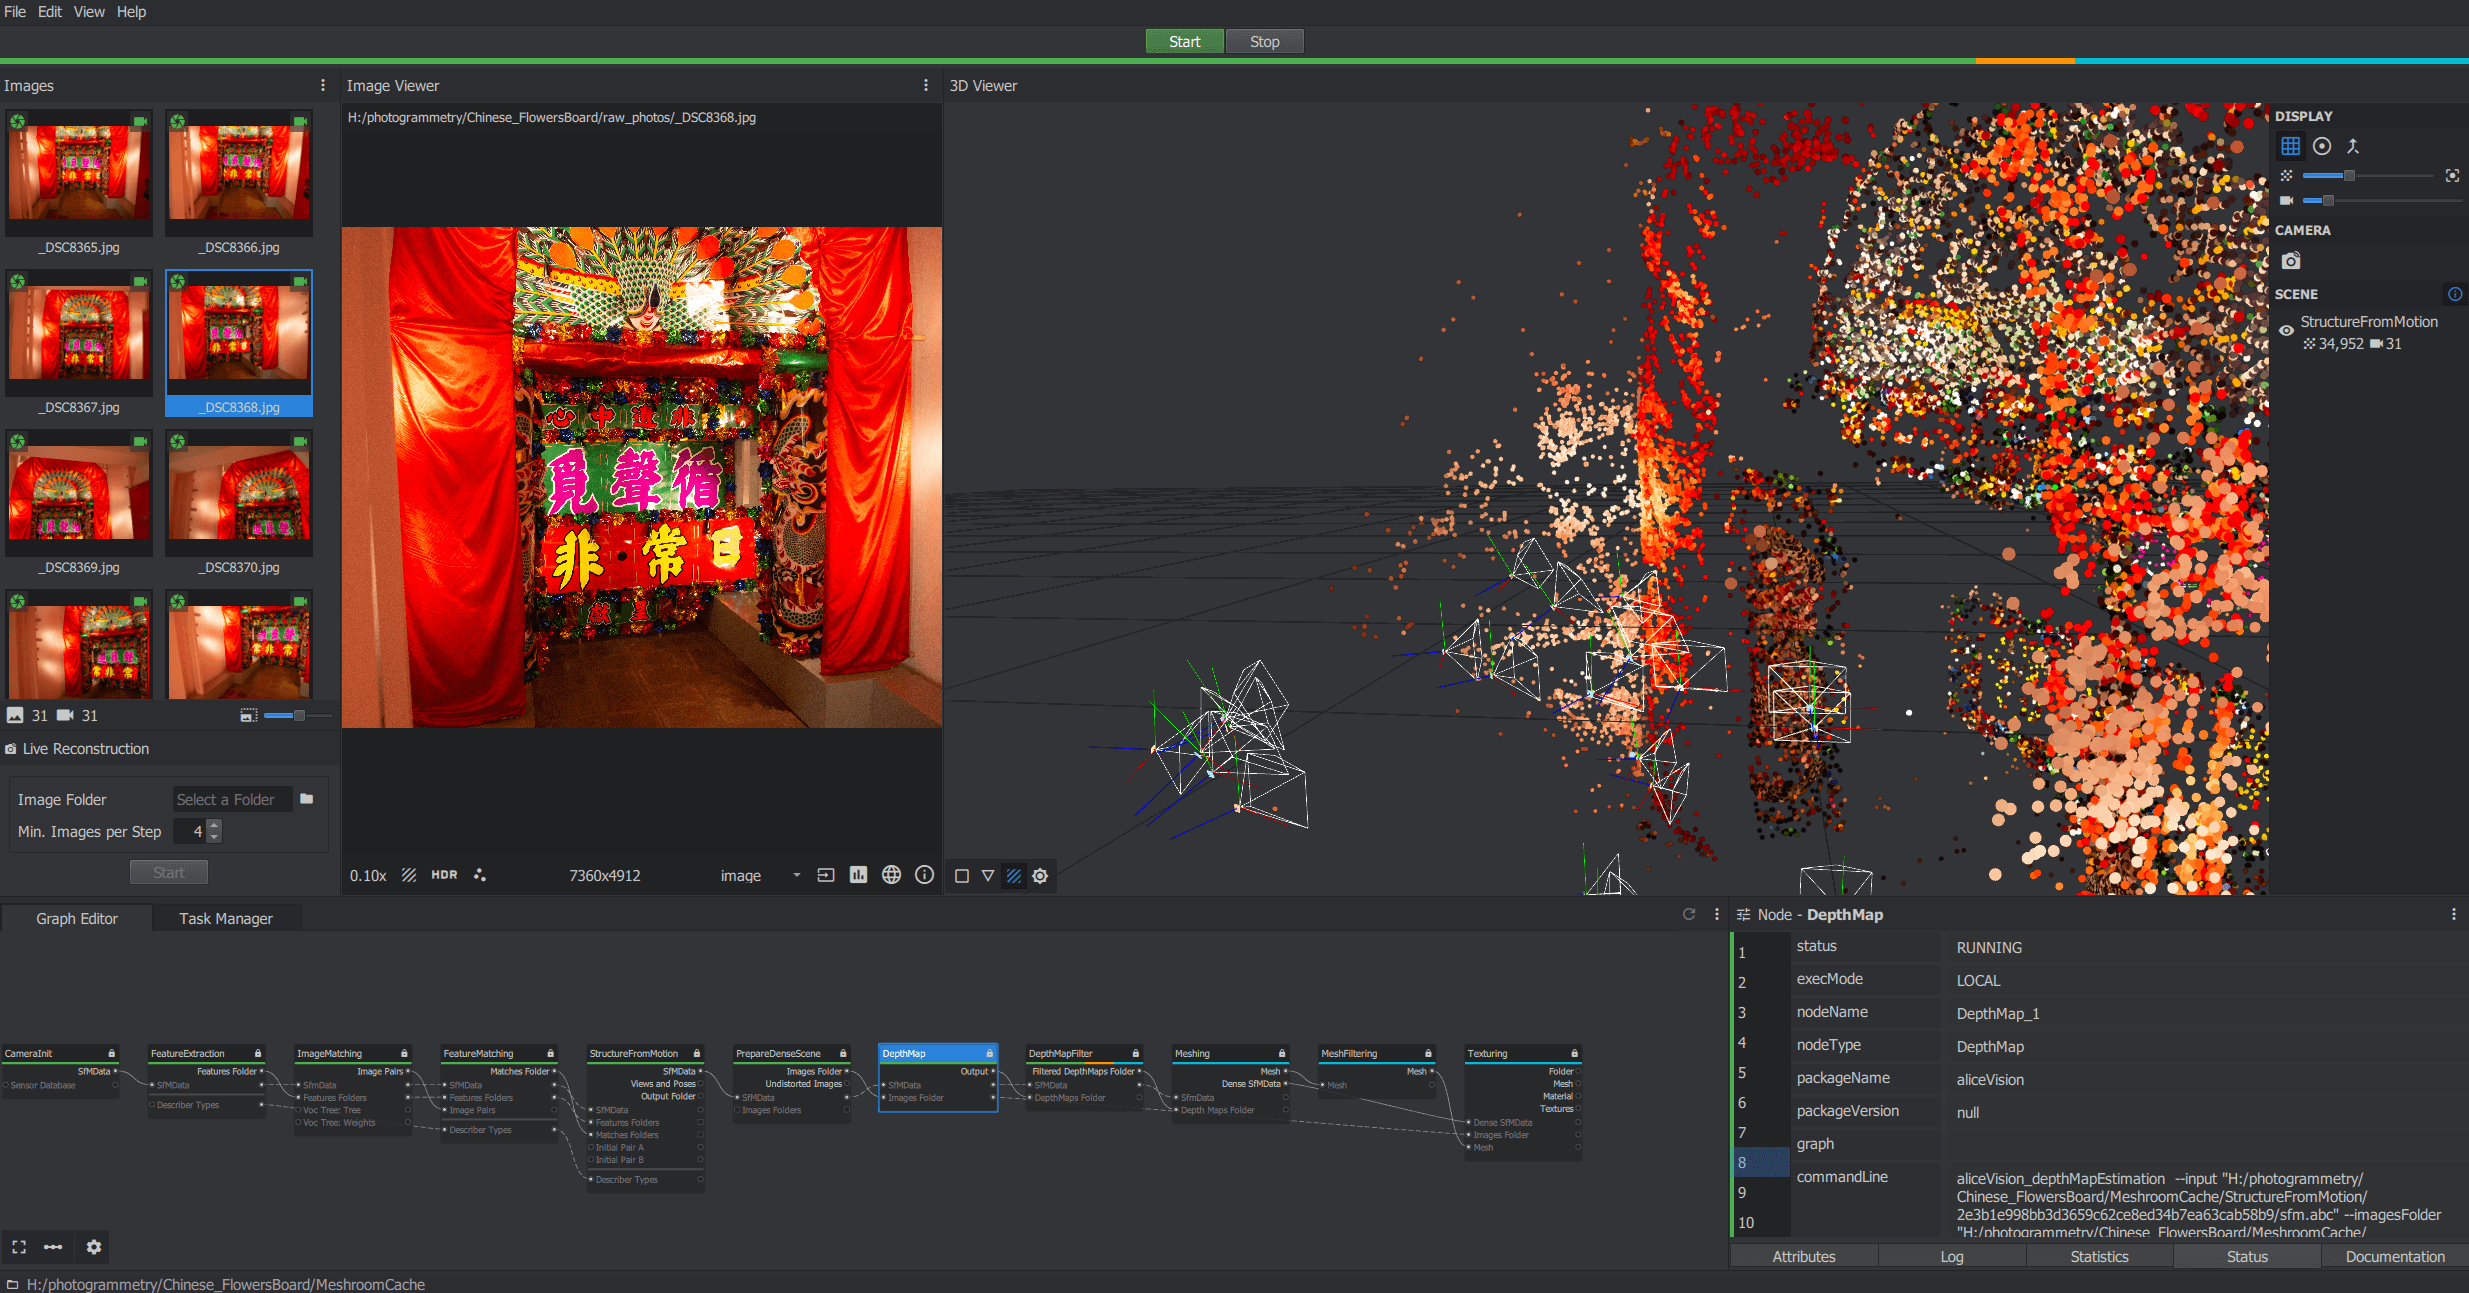
Above image: The Meshroom interface is shown, which is responsible for converting the photos into a 3D mesh. On the right side of the interface, a preview of the point cloud of the 3D scene is displayed. However, we cannot directly use the point cloud as the particles are not evenly distributed.

Above image: An interesting snapshot showcasing the Meshroom interface during the process of feature extraction.
Convert 3D mesh to particles
After Meshroom exports the scene as a 3D mesh, we utilize our custom tool in Houdini to convert the 3D mesh with textures into particles. This tool efficiently imports the models and performs the conversion process, simultaneously applying the texture to color the particles.

Above image: The Houdini interface used for the conversion of a mesh to a point cloud.
You can find our Houdini tool in our github project here.
Embed data to PNG files
Extract the positions and color data of each particle in Houdini and embed this information into PNG files. We use the RGB channels of the 16-bits PNG image to store the XYZ position and the color values of each particle.

Above image: the Houdini interface used for the conversion of a particles positions and colors to PNG files.


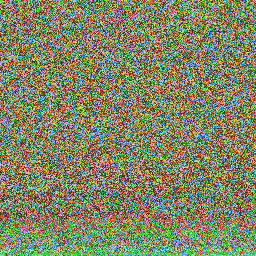
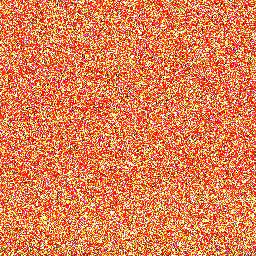
Above image: the PNG images saved particles position and colors.
Implement Point Cloud Effect on Websites
We use Three.js along with our custom shader, to load and render the point cloud effect on the webpages. In the custom shader, it can read the particle positions and color data from the embedded PNG files and apply them to the rendered PointCloud. You can find the source code in our github project here.
Explore additional point cloud effects in our project by clicking here.
Any Questions?
I hope you have found this document to be helpful. Should you require any assistance or have inquiries, please do not hesitate to contact us.
Our Workflow of PointCloud Effect for websites
How we capture anything as pointcloud effect for our website projects?
Aug 27, 2023

By following this workflow, you can capture any real-world objects or scenes, convert them into particles, and then render the PointCloud effect on your website using Three.js and our custom shaders. This allows you to create interactive and visually engaging experiences for your website visitors. Please visit our website project ccs.city to see a live demonstration.
Images Capture
Capture multiple images of the object or scene from different angles. It's important to have sufficient coverage to capture all details.

Photogrammetry to 3D mesh
We use photogrammetry software (Meshroom) to process the captured images and generate a 3D mesh with texture. Photogrammetry algorithms analyze the images to reconstruct the object's geometry and apply the captured textures to the generated mesh.

Above image: The Meshroom interface is shown, which is responsible for converting the photos into a 3D mesh. On the right side of the interface, a preview of the point cloud of the 3D scene is displayed. However, we cannot directly use the point cloud as the particles are not evenly distributed.

Above image: An interesting snapshot showcasing the Meshroom interface during the process of feature extraction.
Convert 3D mesh to particles
After Meshroom exports the scene as a 3D mesh, we utilize our custom tool in Houdini to convert the 3D mesh with textures into particles. This tool efficiently imports the models and performs the conversion process, simultaneously applying the texture to color the particles.

Above image: The Houdini interface used for the conversion of a mesh to a point cloud.
You can find our Houdini tool in our github project here.
Embed data to PNG files
Extract the positions and color data of each particle in Houdini and embed this information into PNG files. We use the RGB channels of the 16-bits PNG image to store the XYZ position and the color values of each particle.

Above image: the Houdini interface used for the conversion of a particles positions and colors to PNG files.


Above image: the PNG images saved particles position and colors.
Implement Point Cloud Effect on Websites
We use Three.js along with our custom shader, to load and render the point cloud effect on the webpages. In the custom shader, it can read the particle positions and color data from the embedded PNG files and apply them to the rendered PointCloud. You can find the source code in our github project here.
Explore additional point cloud effects in our project by clicking here.
Any Questions?
I hope you have found this document to be helpful. Should you require any assistance or have inquiries, please do not hesitate to contact us.
Our Workflow of PointCloud Effect for websites
How we capture anything as pointcloud effect for our website projects?
Aug 27, 2023

By following this workflow, you can capture any real-world objects or scenes, convert them into particles, and then render the PointCloud effect on your website using Three.js and our custom shaders. This allows you to create interactive and visually engaging experiences for your website visitors. Please visit our website project ccs.city to see a live demonstration.
Images Capture
Capture multiple images of the object or scene from different angles. It's important to have sufficient coverage to capture all details.

Photogrammetry to 3D mesh
We use photogrammetry software (Meshroom) to process the captured images and generate a 3D mesh with texture. Photogrammetry algorithms analyze the images to reconstruct the object's geometry and apply the captured textures to the generated mesh.

Above image: The Meshroom interface is shown, which is responsible for converting the photos into a 3D mesh. On the right side of the interface, a preview of the point cloud of the 3D scene is displayed. However, we cannot directly use the point cloud as the particles are not evenly distributed.

Above image: An interesting snapshot showcasing the Meshroom interface during the process of feature extraction.
Convert 3D mesh to particles
After Meshroom exports the scene as a 3D mesh, we utilize our custom tool in Houdini to convert the 3D mesh with textures into particles. This tool efficiently imports the models and performs the conversion process, simultaneously applying the texture to color the particles.

Above image: The Houdini interface used for the conversion of a mesh to a point cloud.
You can find our Houdini tool in our github project here.
Embed data to PNG files
Extract the positions and color data of each particle in Houdini and embed this information into PNG files. We use the RGB channels of the 16-bits PNG image to store the XYZ position and the color values of each particle.

Above image: the Houdini interface used for the conversion of a particles positions and colors to PNG files.


Above image: the PNG images saved particles position and colors.
Implement Point Cloud Effect on Websites
We use Three.js along with our custom shader, to load and render the point cloud effect on the webpages. In the custom shader, it can read the particle positions and color data from the embedded PNG files and apply them to the rendered PointCloud. You can find the source code in our github project here.
Explore additional point cloud effects in our project by clicking here.
Any Questions?
I hope you have found this document to be helpful. Should you require any assistance or have inquiries, please do not hesitate to contact us.
2023 Design Quest Limited all rights reserved.
2023 Design Quest Limited all rights reserved.